Tying a tie might seem intimidating at first, but trust me, it's a skill worth mastering. Whether you're heading to a formal event, a job interview, or just want to look sharp, knowing how to tie a knot can elevate your style game. And let’s be honest, nothing screams confidence like a perfectly knotted tie. So, let’s dive right into it and unravel the mystery of how to tie a tie!
Let’s face it, life gets busy, and sometimes the last thing you want to deal with is figuring out how to tie a tie. But hey, it’s one of those skills that once you learn it, you’ll never forget. Plus, it’s not just about functionality; it’s about making a statement. A well-tied tie can make you stand out in a sea of people, and who doesn’t want that?
Don’t worry if you’re a complete beginner. This guide is here to help you every step of the way. From the most basic knots to the fancier ones, we’ve got you covered. So grab your favorite tie, and let’s get started!
Read also:What Did Baron Say To Biden Unveiling The Conversation That Made Waves
Why Learning How to Tie a Tie Matters
Let’s talk about why tying a tie is more than just a fashion statement. It’s a symbol of professionalism, attention to detail, and yes, even confidence. Think about it—when you walk into a meeting or an interview with a perfectly knotted tie, people notice. It shows that you care about your appearance and take pride in how you present yourself.
Plus, there’s something empowering about being able to do it yourself. No more relying on someone else to help you out or avoiding formal events because you’re not sure how to tie a tie. You’ve got this!
The Basics of Tying a Tie
Understanding the Different Parts of a Tie
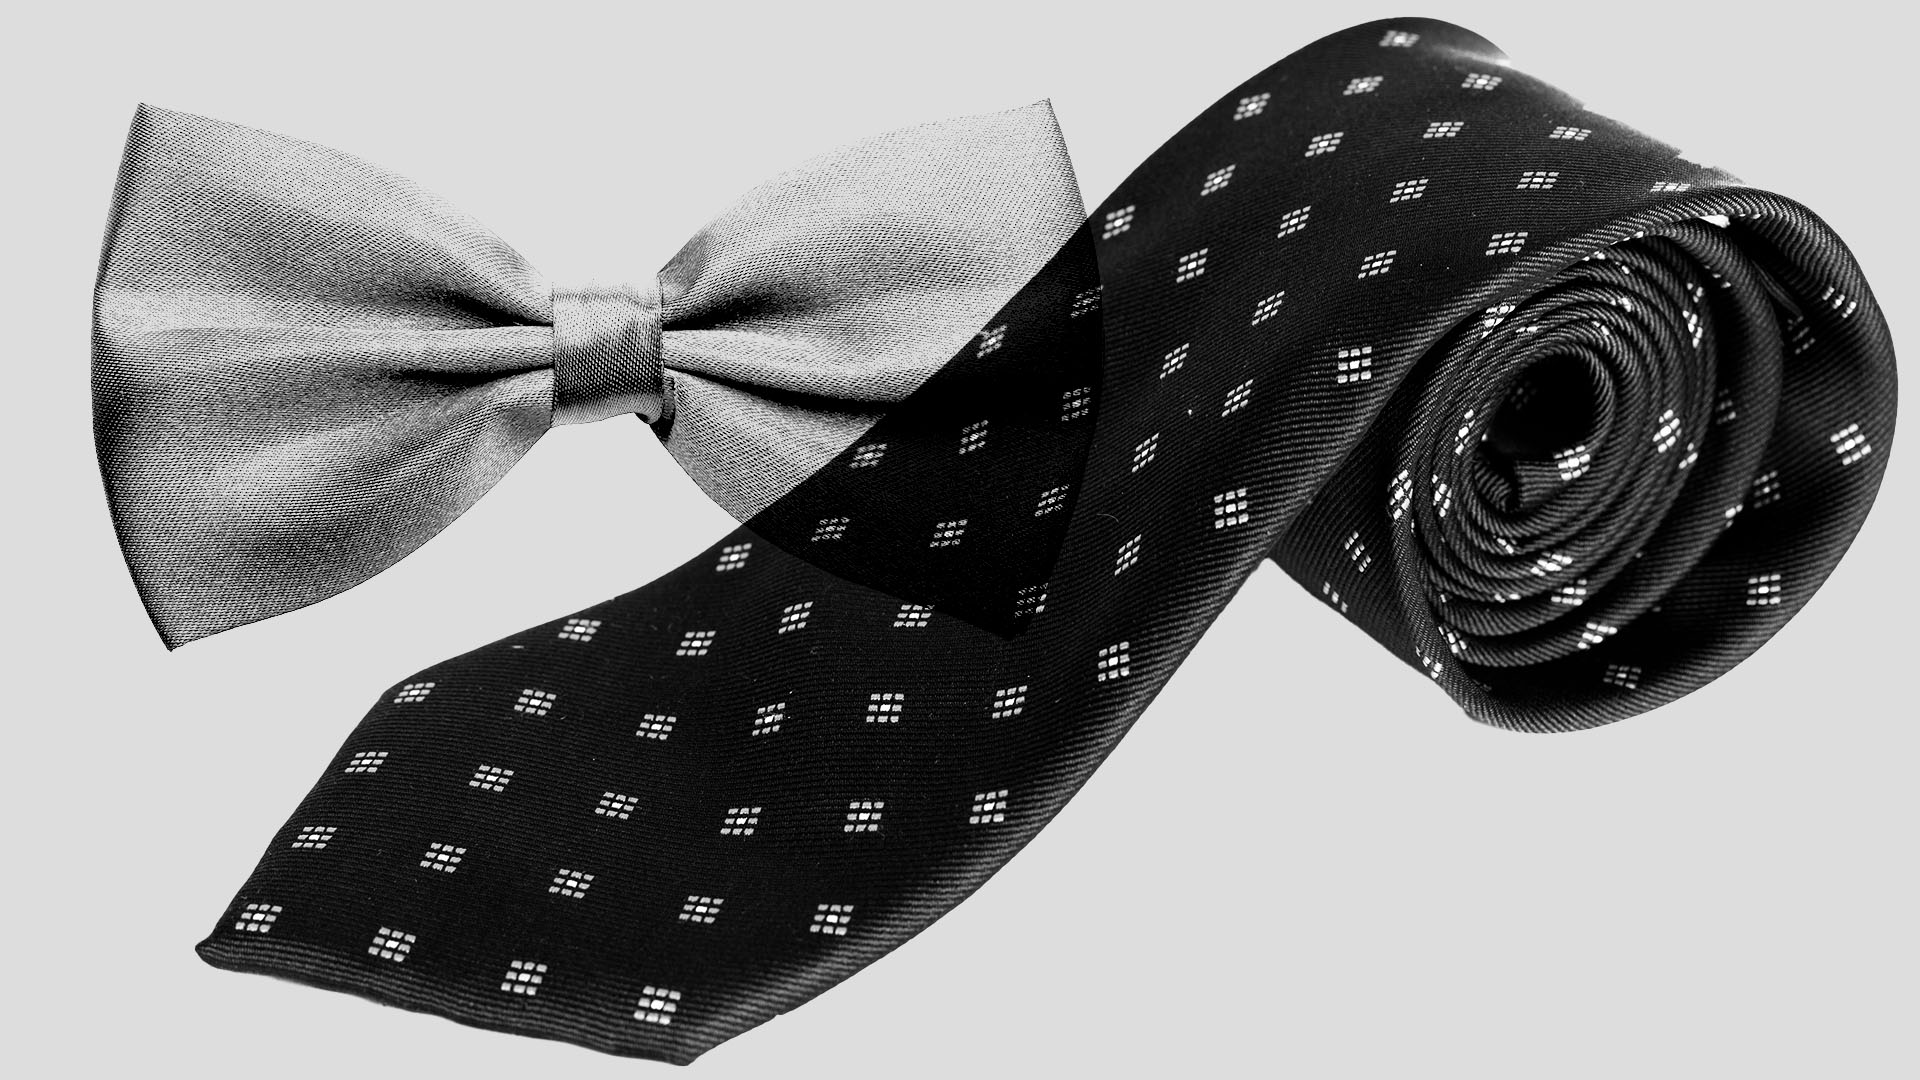
Before we jump into the actual tying process, let’s break down the anatomy of a tie. Every tie has two main parts: the wide end and the narrow end. The wide end is the one that will form the knot, while the narrow end is the shorter side that hangs down. Got it? Good!
Now, here’s a quick tip: always start with the wide end on the side opposite to your dominant hand. If you’re right-handed, start with the wide end on your left. This will make the tying process smoother and more comfortable.
Choosing the Right Tie for the Occasion
Matching Your Tie to Your Outfit
Not all ties are created equal, and neither are all occasions. When selecting a tie, consider the event you’re attending and the overall look you’re going for. For formal events, go for classic colors like navy, black, or burgundy. For more casual settings, you can experiment with patterns and brighter colors.
Here’s a pro tip: always match your tie with your shirt and suit. If you’re wearing a patterned shirt, opt for a solid-colored tie, and vice versa. Balance is key!
Read also:French Pole Vaulter Bulge The Phenomenon Thatrsquos Taking The World By Storm
Step-by-Step Guide to Tying a Tie
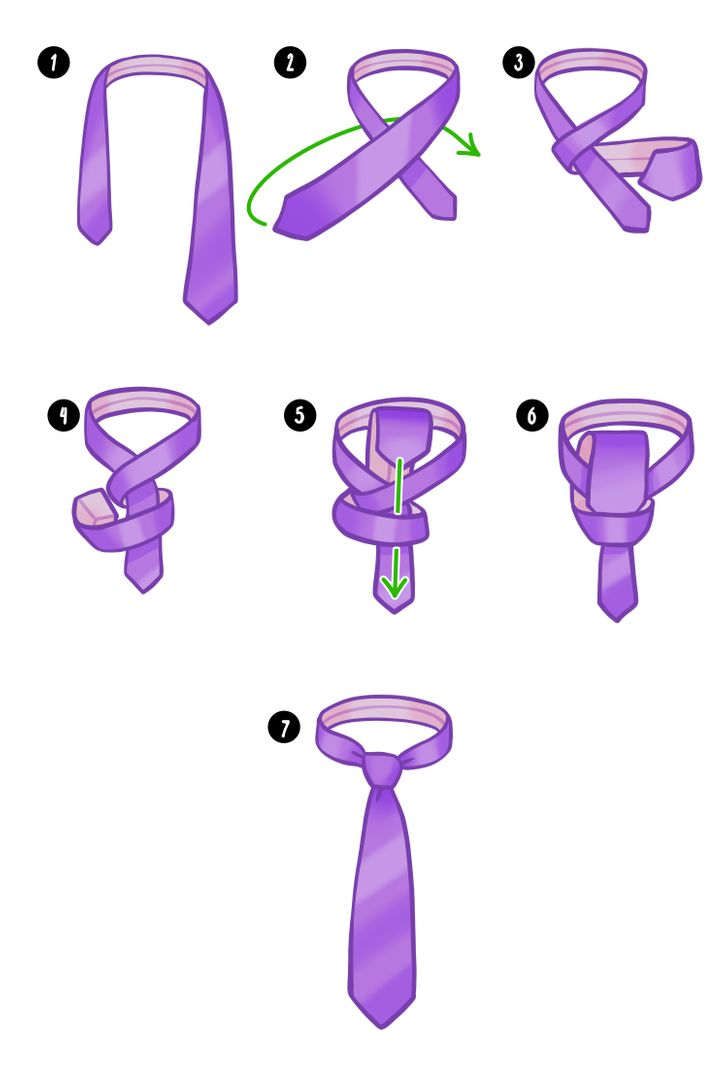
The Four-in-Hand Knot
This is one of the easiest and most versatile knots out there. It’s perfect for everyday wear and works well with most tie widths. Here’s how you do it:
- Start with the wide end on the left and the narrow end on the right.
- Cross the wide end over the narrow end.
- Bring the wide end underneath the narrow end and back up.
- Pass the wide end through the loop around your neck.
- Wrap the wide end around the front of the knot.
- Pass the wide end through the loop again and tighten gently.
Voila! You’ve just tied a Four-in-Hand knot. Easy, right?
The Windsor Knot
If you’re looking to make a bold statement, the Windsor knot is your go-to. It’s a bit more complex than the Four-in-Hand, but it creates a wider, more impressive knot. Here’s how it’s done:
- Start with the wide end on the left and the narrow end on the right.
- Cross the wide end over the narrow end.
- Bring the wide end underneath and back up.
- Pass the wide end through the loop around your neck.
- Wrap the wide end around the front of the knot twice.
- Pass the wide end through the loop again and tighten gently.
Boom! You’ve just tied a Windsor knot. Now you’re ready to take on the world!
Common Mistakes to Avoid
Too Tight or Too Loose
One of the most common mistakes people make when tying a tie is getting the knot too tight or too loose. Remember, the knot should sit comfortably at the base of your neck, not choking you or hanging off your collar.
Here’s a quick fix: adjust the knot by pulling gently on the narrow end while holding the knot in place. This will give you the perfect fit every time.
Advanced Techniques for Tie Enthusiasts
The Pratt Knot
For those who want to take their tie game to the next level, the Pratt knot is a great option. It’s a bit more intricate than the Four-in-Hand but still manageable for beginners. Here’s how you do it:
- Start with the wide end on the right and the narrow end on the left.
- Cross the wide end over the narrow end.
- Bring the wide end underneath and back up.
- Pass the wide end through the loop around your neck.
- Wrap the wide end around the front of the knot.
- Pass the wide end through the loop again and tighten gently.
See? Not as hard as you thought, right?
Tips for Maintaining Your Tie
Proper Care and Storage
Investing in a good tie is one thing, but taking care of it is another. To ensure your tie lasts as long as possible, follow these simple tips:
- Hang your ties on a tie rack or hanger to prevent wrinkles.
- Rotate your ties so they don’t get overused and worn out.
- Spot clean any stains immediately with a damp cloth.
- Consider taking your tie to a professional cleaner for tough stains.
By following these tips, you’ll keep your ties looking fresh and ready to wear for years to come.
Conclusion: Tie It All Together
Tying a tie might seem like a daunting task at first, but with a little practice, you’ll be tying knots like a pro in no time. Whether you’re going for a classic Four-in-Hand or a bold Windsor, the key is to find a knot that suits your style and occasion.
Remember, mastering the art of tying a tie is more than just a skill; it’s a confidence booster. So go ahead, grab your favorite tie, and show the world what you’re made of!
And don’t forget to share your newfound knowledge with others. Who knows? You might just inspire someone else to take their style game to the next level. Until next time, keep tying those ties and looking sharp!
Table of Contents